VPN – CONNECTING REMOTELY
VPN – CONNECTING REMOTELY
Nation’s VPN is how we remotely connect to servers. Viscosity is our app of choice, so the following is set up for only Viscosity.
If you do not already have a copy of Viscosity, you can download the latest version at: https://www.sparklabs.com/viscosity/download/
Installing Viscosity (Mac)
Before you can use Viscosity it must first be installed using the instructions below. You must have administration rights on your computer to be able to install Viscosity.
Installing Viscosity
- Open the Viscosity.dmg file (usually located in your Downloads folder) by double-clicking it.
- Drag Viscosity to your Applications folder.
- Eject the Viscosity disk image.
- Launch Viscosity from your Applications folder.
- Enter your username and password so Viscosity can configure itself and install any necessary components.

Updating Viscosity
Viscosity can be updated automatically from inside the application, or manually if a problem is encountered updating automatically.
Updating Automatically
- Open your current version of Viscosity.
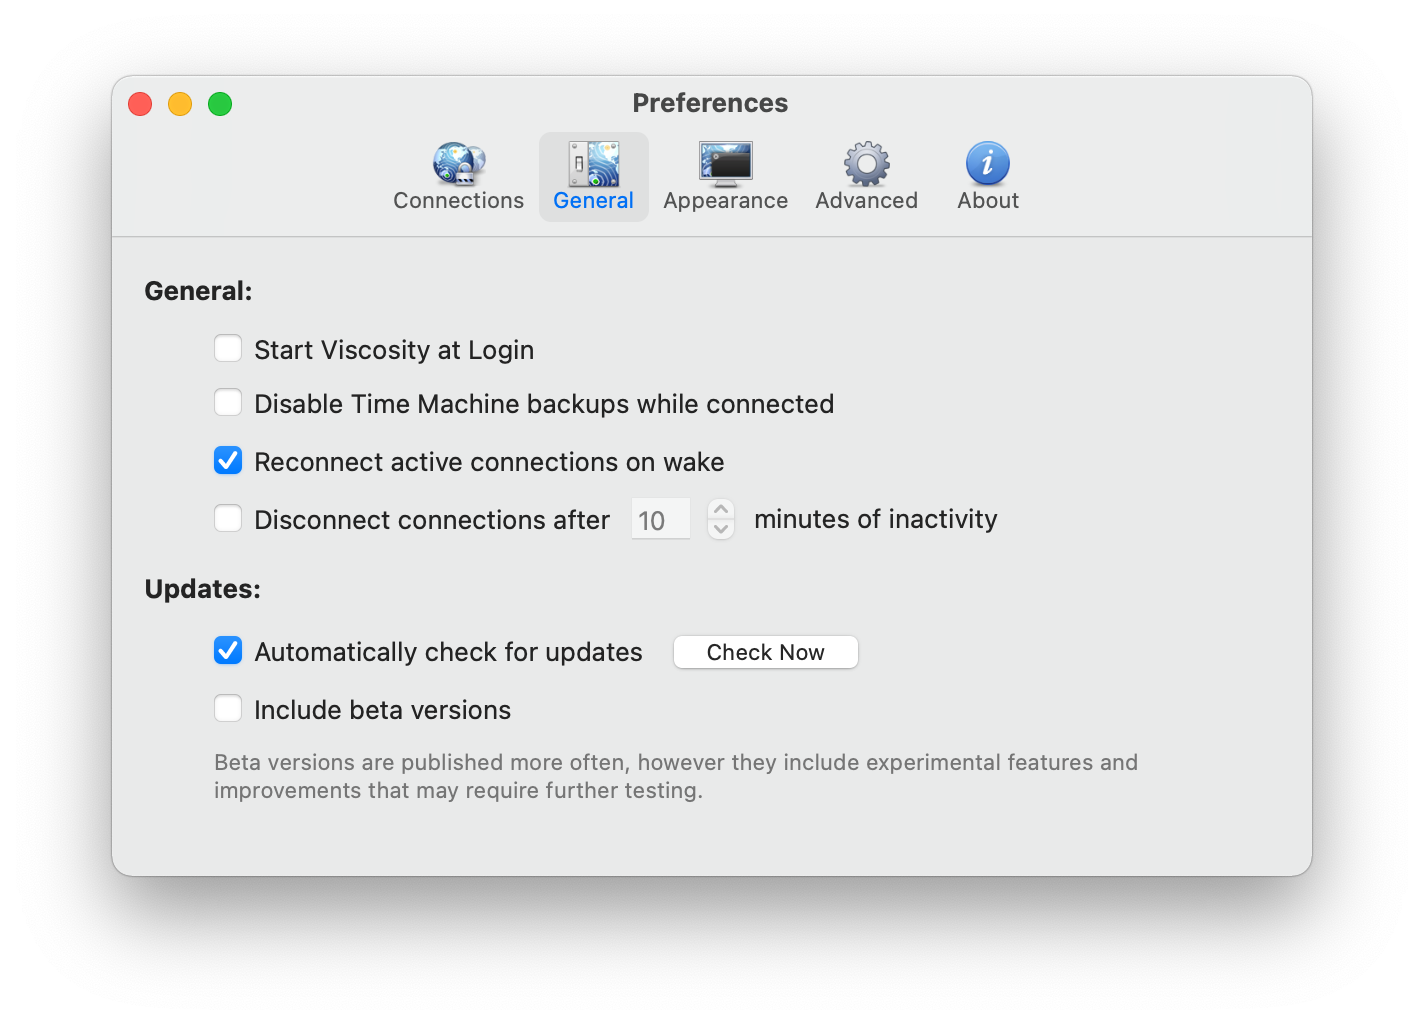
- Go to the Viscosity menu and select Preferences
- Click the General icon
- Click the “Check for Updates” button
Importing a Connection
You can import a connection into Viscosity by double clicking on a Viscosity connection bundle or OpenVPN configuration file, or by following the steps below:
Step 1
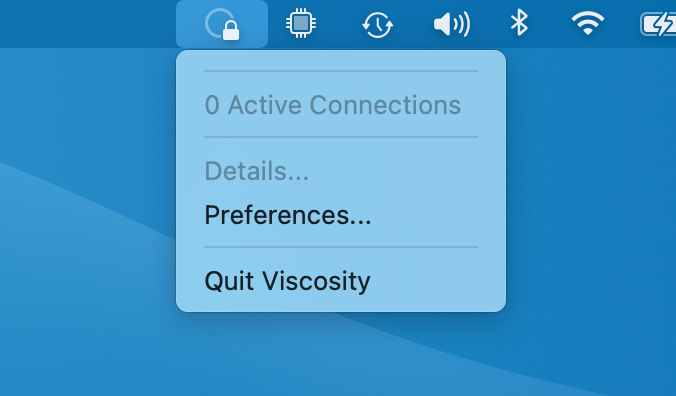
Open Viscosity, go to the Viscosity menu and select “Preferences…”.The preferences window should appear.
Step 2
Make sure the “Connections” toolbar item is selected, and then click the “+” button in the bottom left hand corner of the window. Select “Import Connection” then “From File…” from the menu that appears.

DOWNLOAD CONNECTIONS HERE.
Activate you VPN
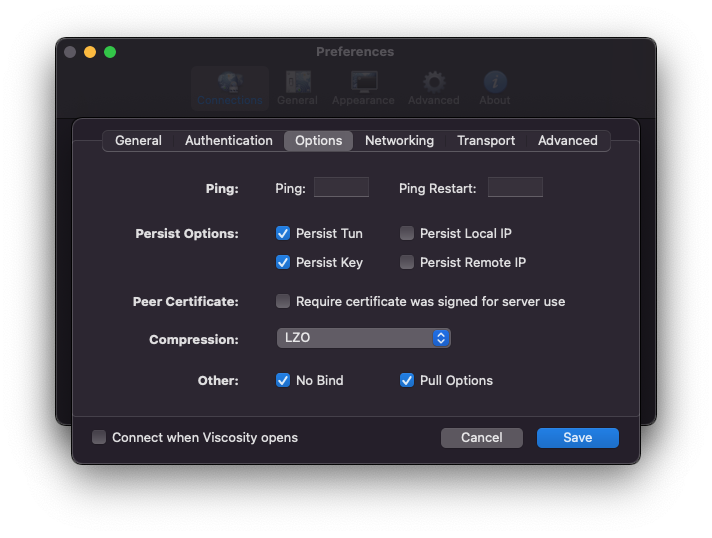
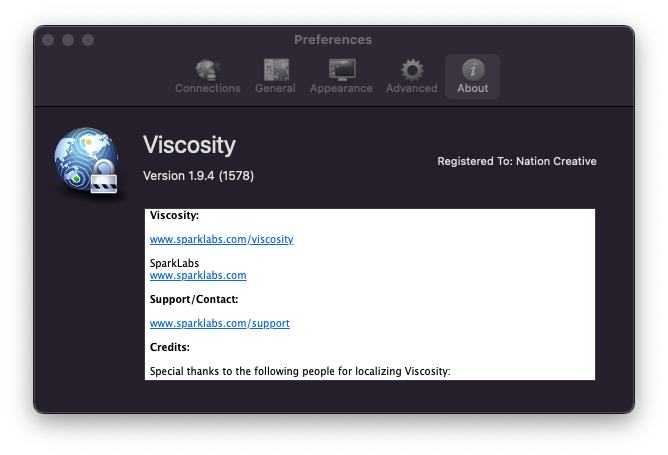
Now installed this will help guide you through connecting to the Nation Servers. You shouldn’t need to change anything in preferences, all automatic.

To check settings: click on VPN icon top right near time/date looks like a Circle with padlock. Go to preferences.




Get login details
You will need to have your server login details to connect. I.T. department can provide via email/SMS if needed.
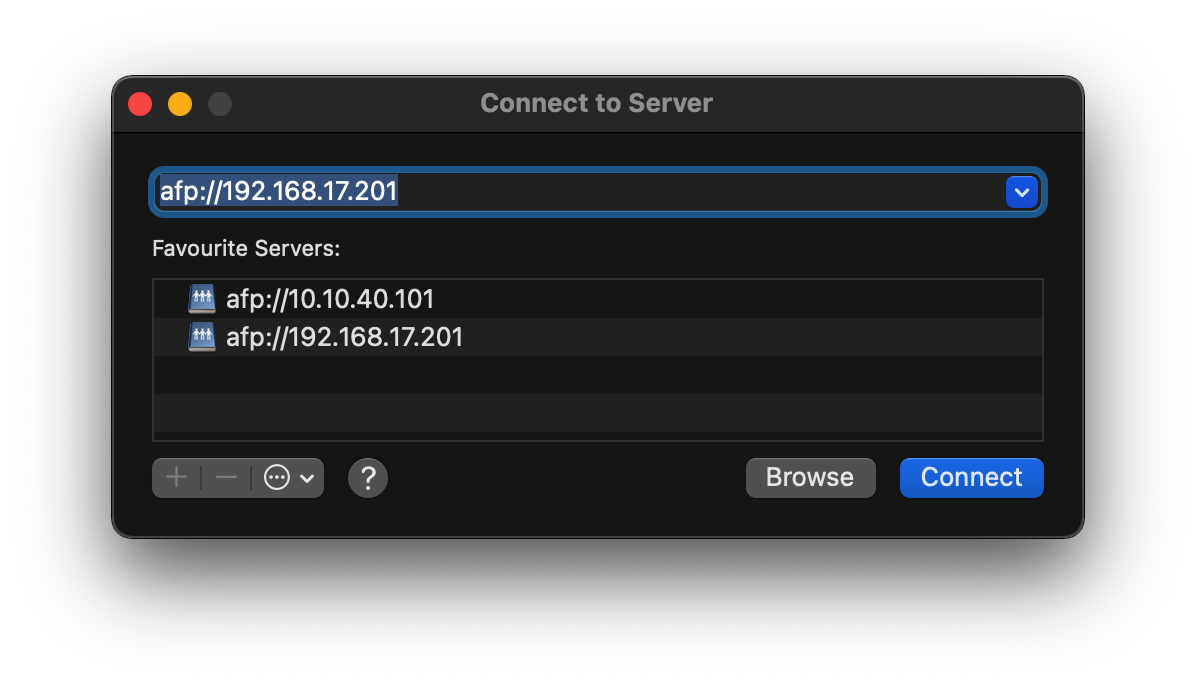
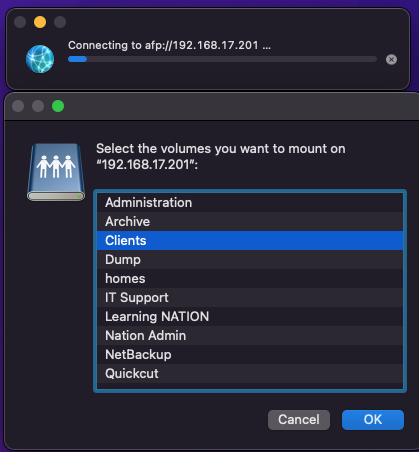
For Adelaide server: ADD
smb://192.168.17.201
